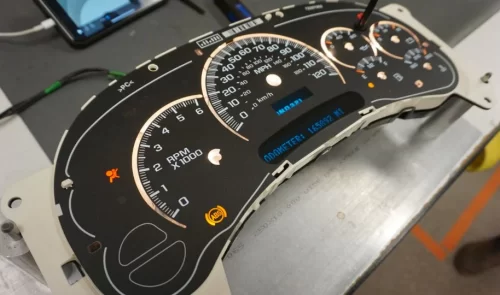
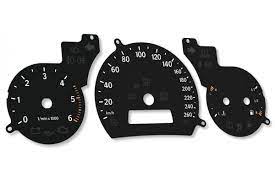
Having a functioning instrument cluster in your car or truck is essential for a safe and enjoyable driving experience. An instrument cluster is the electronic panel located on the dashboard of your vehicle that displays the current speed, fuel level, and other important information. Over time, the instrument cluster is subject to wear and tear and can fail, leading to a wide range of issues.
To avoid a potentially hazardous situation, it’s important to replace your instrument cluster as soon as possible. In this blog post, we’ll be discussing the process of instrument cluster replacement and the different types available.
We’ll cover the different steps involved, what to consider when shopping for a new cluster, and the advantages of having a functioning instrument cluster. With the information provided, you’ll be able to make an informed decision about replacing your instrument cluster.
1. Gather the Required Parts and Tools
Before beginning the instrument cluster replacement process, it is important to gather all of the necessary parts and tools. This includes the instrument cluster, the replacement parts (if applicable), a Phillips screwdriver, a 3/8” nut driver, a flathead screwdriver, a 7mm socket, a 10mm socket, and a torx screwdriver.
It is important to ensure that all these pieces are available before beginning the process, as they will be necessary for the successful completion of the project.
2. Remove the Dashboard
The second step in instrument cluster replacement is to remove the dashboard. To do this, you’ll need to remove the dashboard trim. This is best done by removing the screws that hold the trim in place.
Once the trim is removed, you’ll be able to access the dashboard screws. Unscrew them and carefully lift the dashboard away from the instrument cluster. Disconnect the wiring and remove the dashboard. Place it aside for now.
3. Disconnect the Wires from the Instrument Cluster
The third step in the instrument cluster replacement process is to disconnect the wires from the cluster. First, ensure that the vehicle is in park, with the key turned to the off position. Once the car is off, locate the connector that is attached to the back of the instrument cluster.
Disconnect the connector from the cluster by pressing on the two plastic tabs and gently pulling the connector away from the cluster. Set the connector aside for safekeeping. Make sure that you keep track of any wiring harnesses and/or clips that may have been attached to the instrument cluster.
4. Install the New Instrument Cluster
After the old instrument cluster is removed, it is time to install the new instrument cluster. First, ensure that the new cluster is compatible with the vehicle. Once the correct cluster is identified, follow the manufacturer’s instructions for installation.
If the instrument cluster has multiple plugs, ensure that all the plugs are connected properly. If a harness is included with the instrument cluster, connect it securely to the new cluster. Finally, secure the instrument cluster in place.
5. Re-attach Wires and Test the New Unit
After installing the new instrument cluster, you must re-attach the wires, reconnecting them in the same order as they were removed. Once the wiring is complete, turn the key in the ignition to the “on” position, but do not start the engine.
This will allow the system to boot up. Make sure all the lights and gauges on the instrument cluster illuminate. If you have any problems, turn the vehicle off and re-check your work. Once the cluster is functioning properly, you can start the engine and test the components.
Conclusion
Overall, replacing an instrument cluster is a complicated yet important task. It requires knowledge of the specific year, make, and model of the car to ensure a correct fit. Additionally, all necessary components, such as bulbs and wiring, must be considered prior to installation. With the right preparation, replacing an instrument cluster can be completed in a few hours and increase the safety and reliability of any vehicle.


